Overview

If you have, like me, some old iPads with not much internal storage for enough movies to last a rather long road trip, then this post might be of interest to you.
There are of course plenty solutions for in car entertainment but I wanted to make use of those iPads which we already have without having to buy much new hardware. One alternative solution is to buy some external storage and connect it to the thunderbolt port but then it is no longer possible to charge the iPads at the same time. So I was looking for a solution where the external storage is wireless.
There are a few off-the-shelf solutions. I have tried the Seagate Wireless Plus which has a built-in wifi access point to which the tablet can connect to. However, this turned out to be quit buggy and unstable. It was not possible to have two tablets stream movies at the same time. Perhaps, this was due to the initial buffering over the relative lower speed 2.4Ghz wifi.
So I thought I would build my own external storage solution based on Raspberry Pi 4. It has built-in wifi, which can be used as an access point, and USB3 support for connecting external storage.
Power
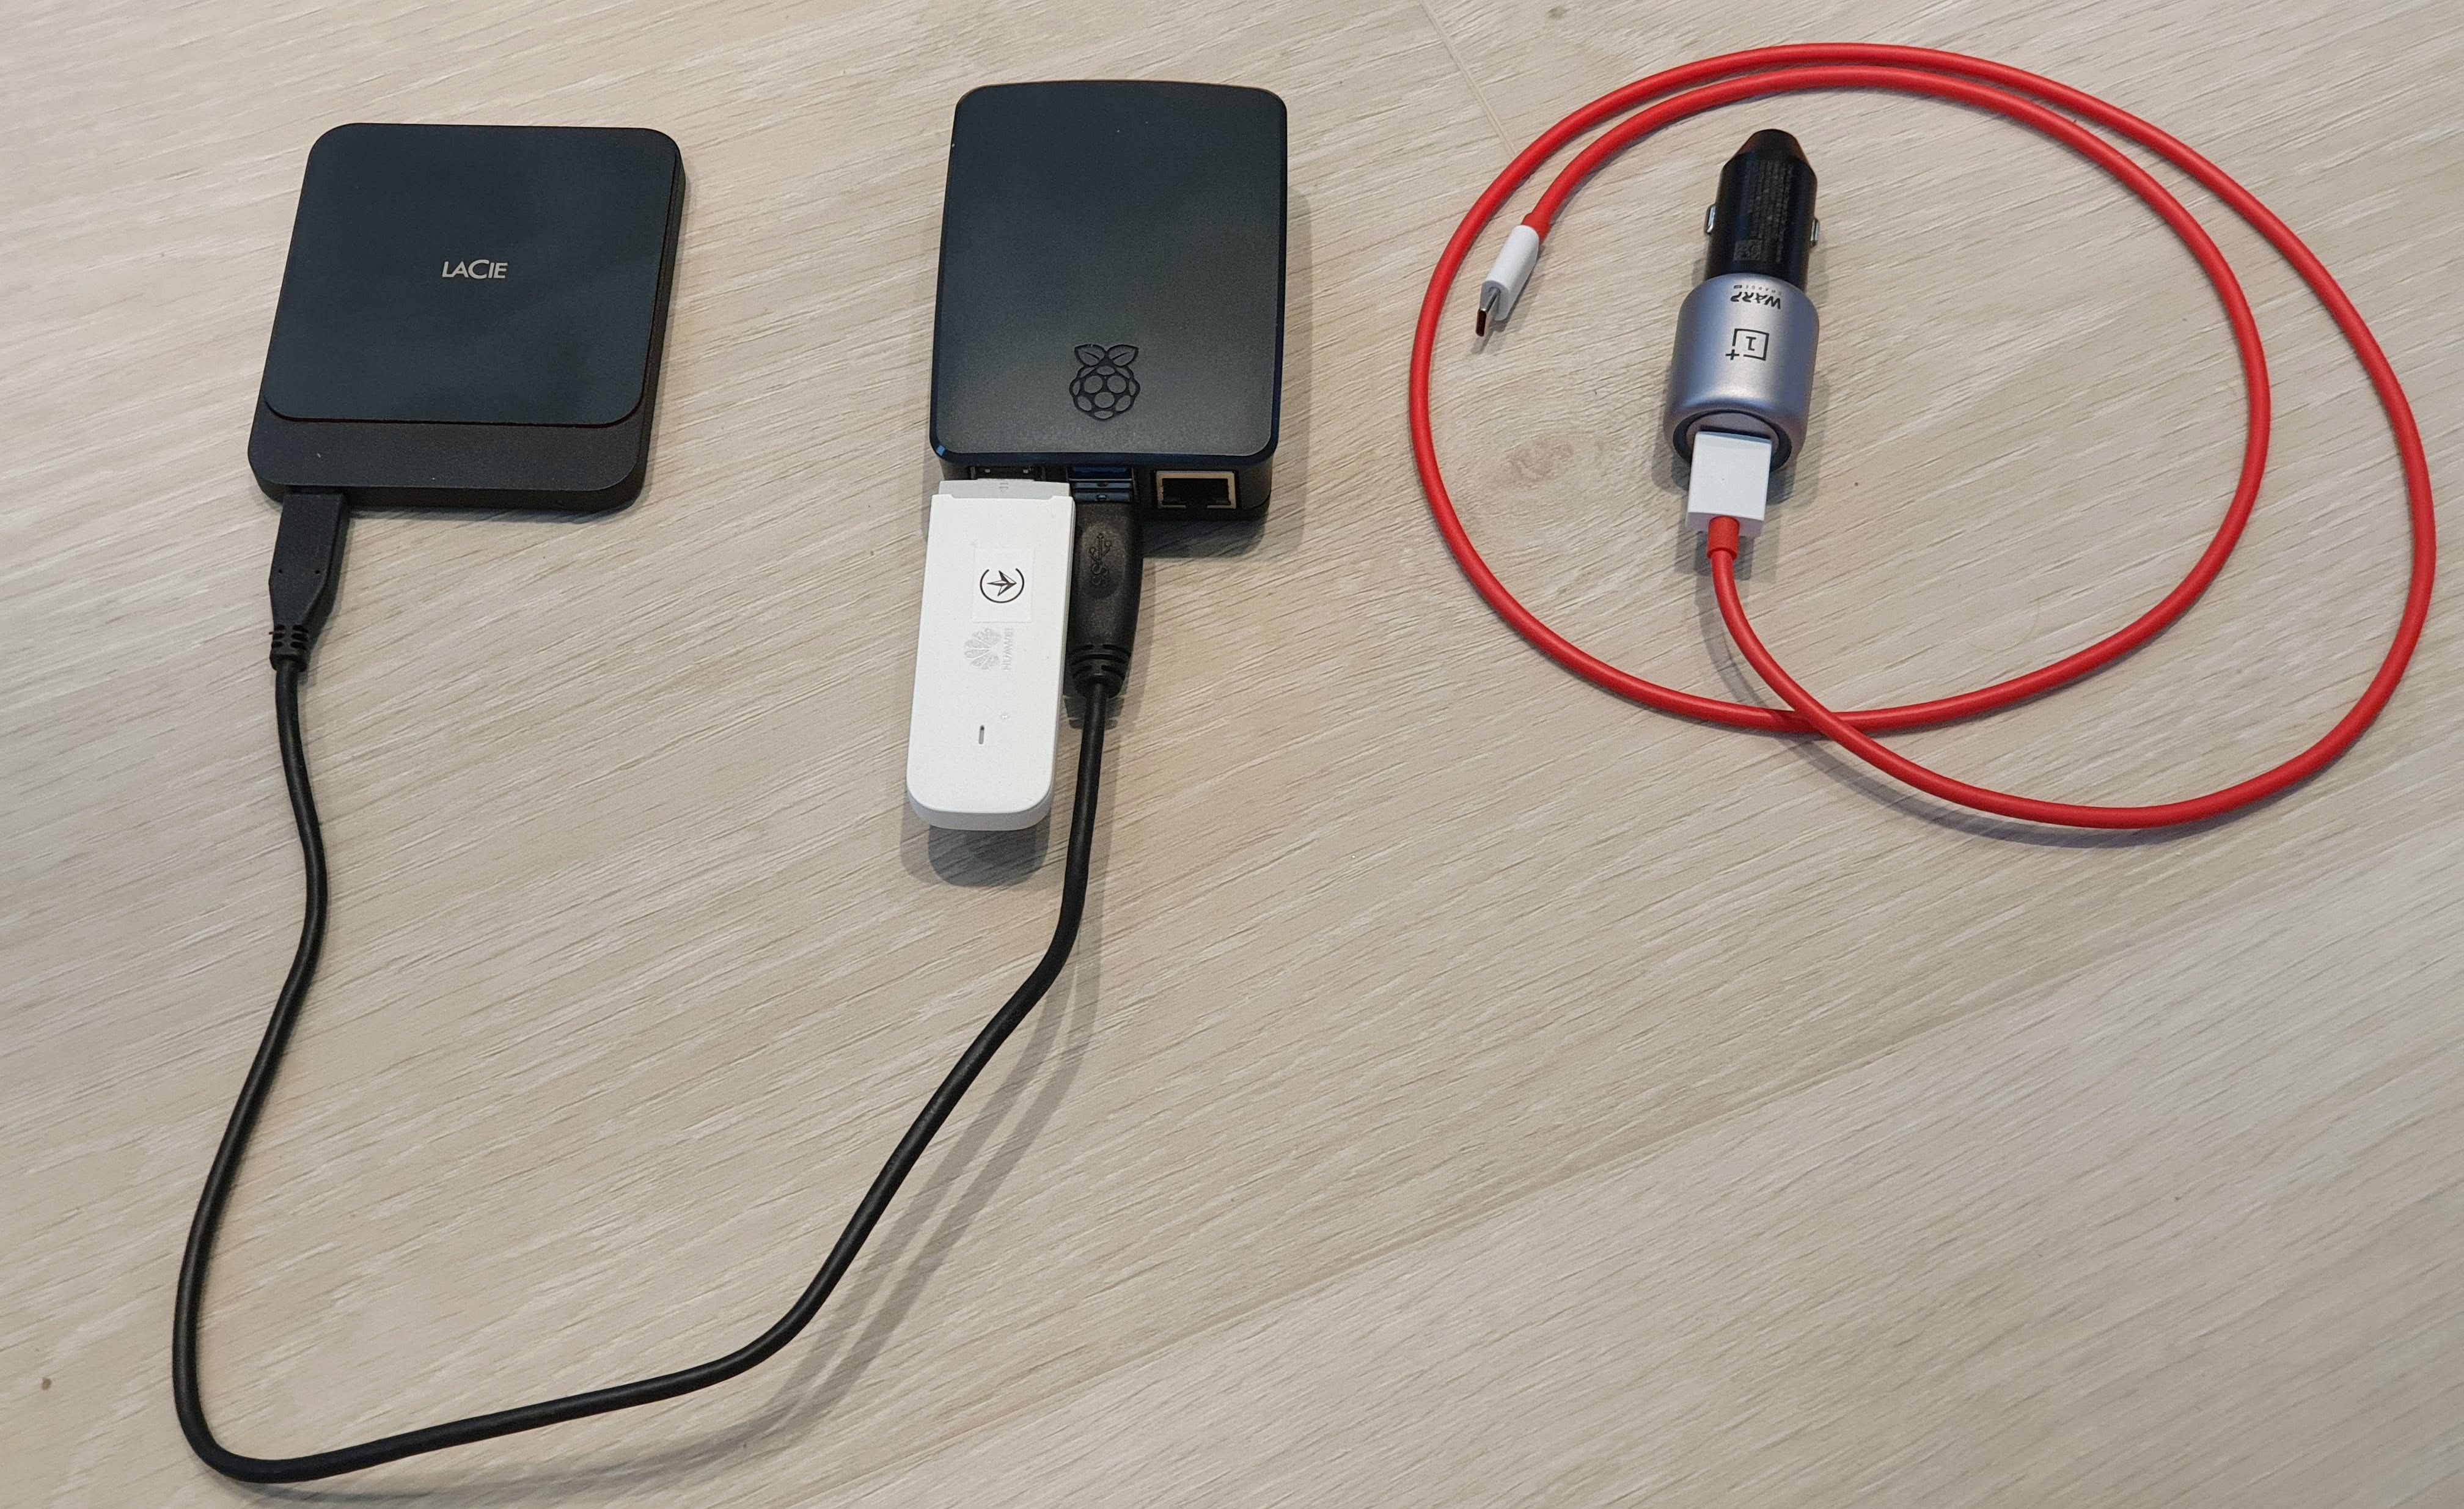
The only concern was power. The entire Raspberry Pi 4 needs about 3A at 5V and can provide up to 1.2A of combined current to its USB ports. So the external hard dive must consume as little power as possible. A SSD drive seems like a good choice which has no moving parts / spinning disks and requires just a small amount of power. So I picked the cheapest SSD drive I could find (see below).
To power the entire unit including the external disk in the car from a 12V outlet, you need a DC/DC converter which is capable to delivery those 3A at 5V. This turned out to be quite hard to find actually. There are plenty of so called high power USB charging adapters which support fast charing etc, but those deliver its power at a much higher output voltage and not the 5V which we need to the Raspberry Pi.
The power source which I ended up buying was from OnePlus: OnePlus Warp Charge 30 Car Charger - Graphite
It is capable of delivering a whopping 6A at 5V. Perfect!
Just for the record, I measured the power consumption of the entire setup, including the power adapter (see below), and power consumption peaks around 9 Watts (0,7A @ 13V). Assuming 80% efficiency of DC/DC converter, that would mean around 1,44A delivered to the Raspberry PI via the USB cable.
4G Internet access
As a bonus, I added a 4G USB dongle (Huawai E3372) such that it is also possible to reach the internet from the tablets.
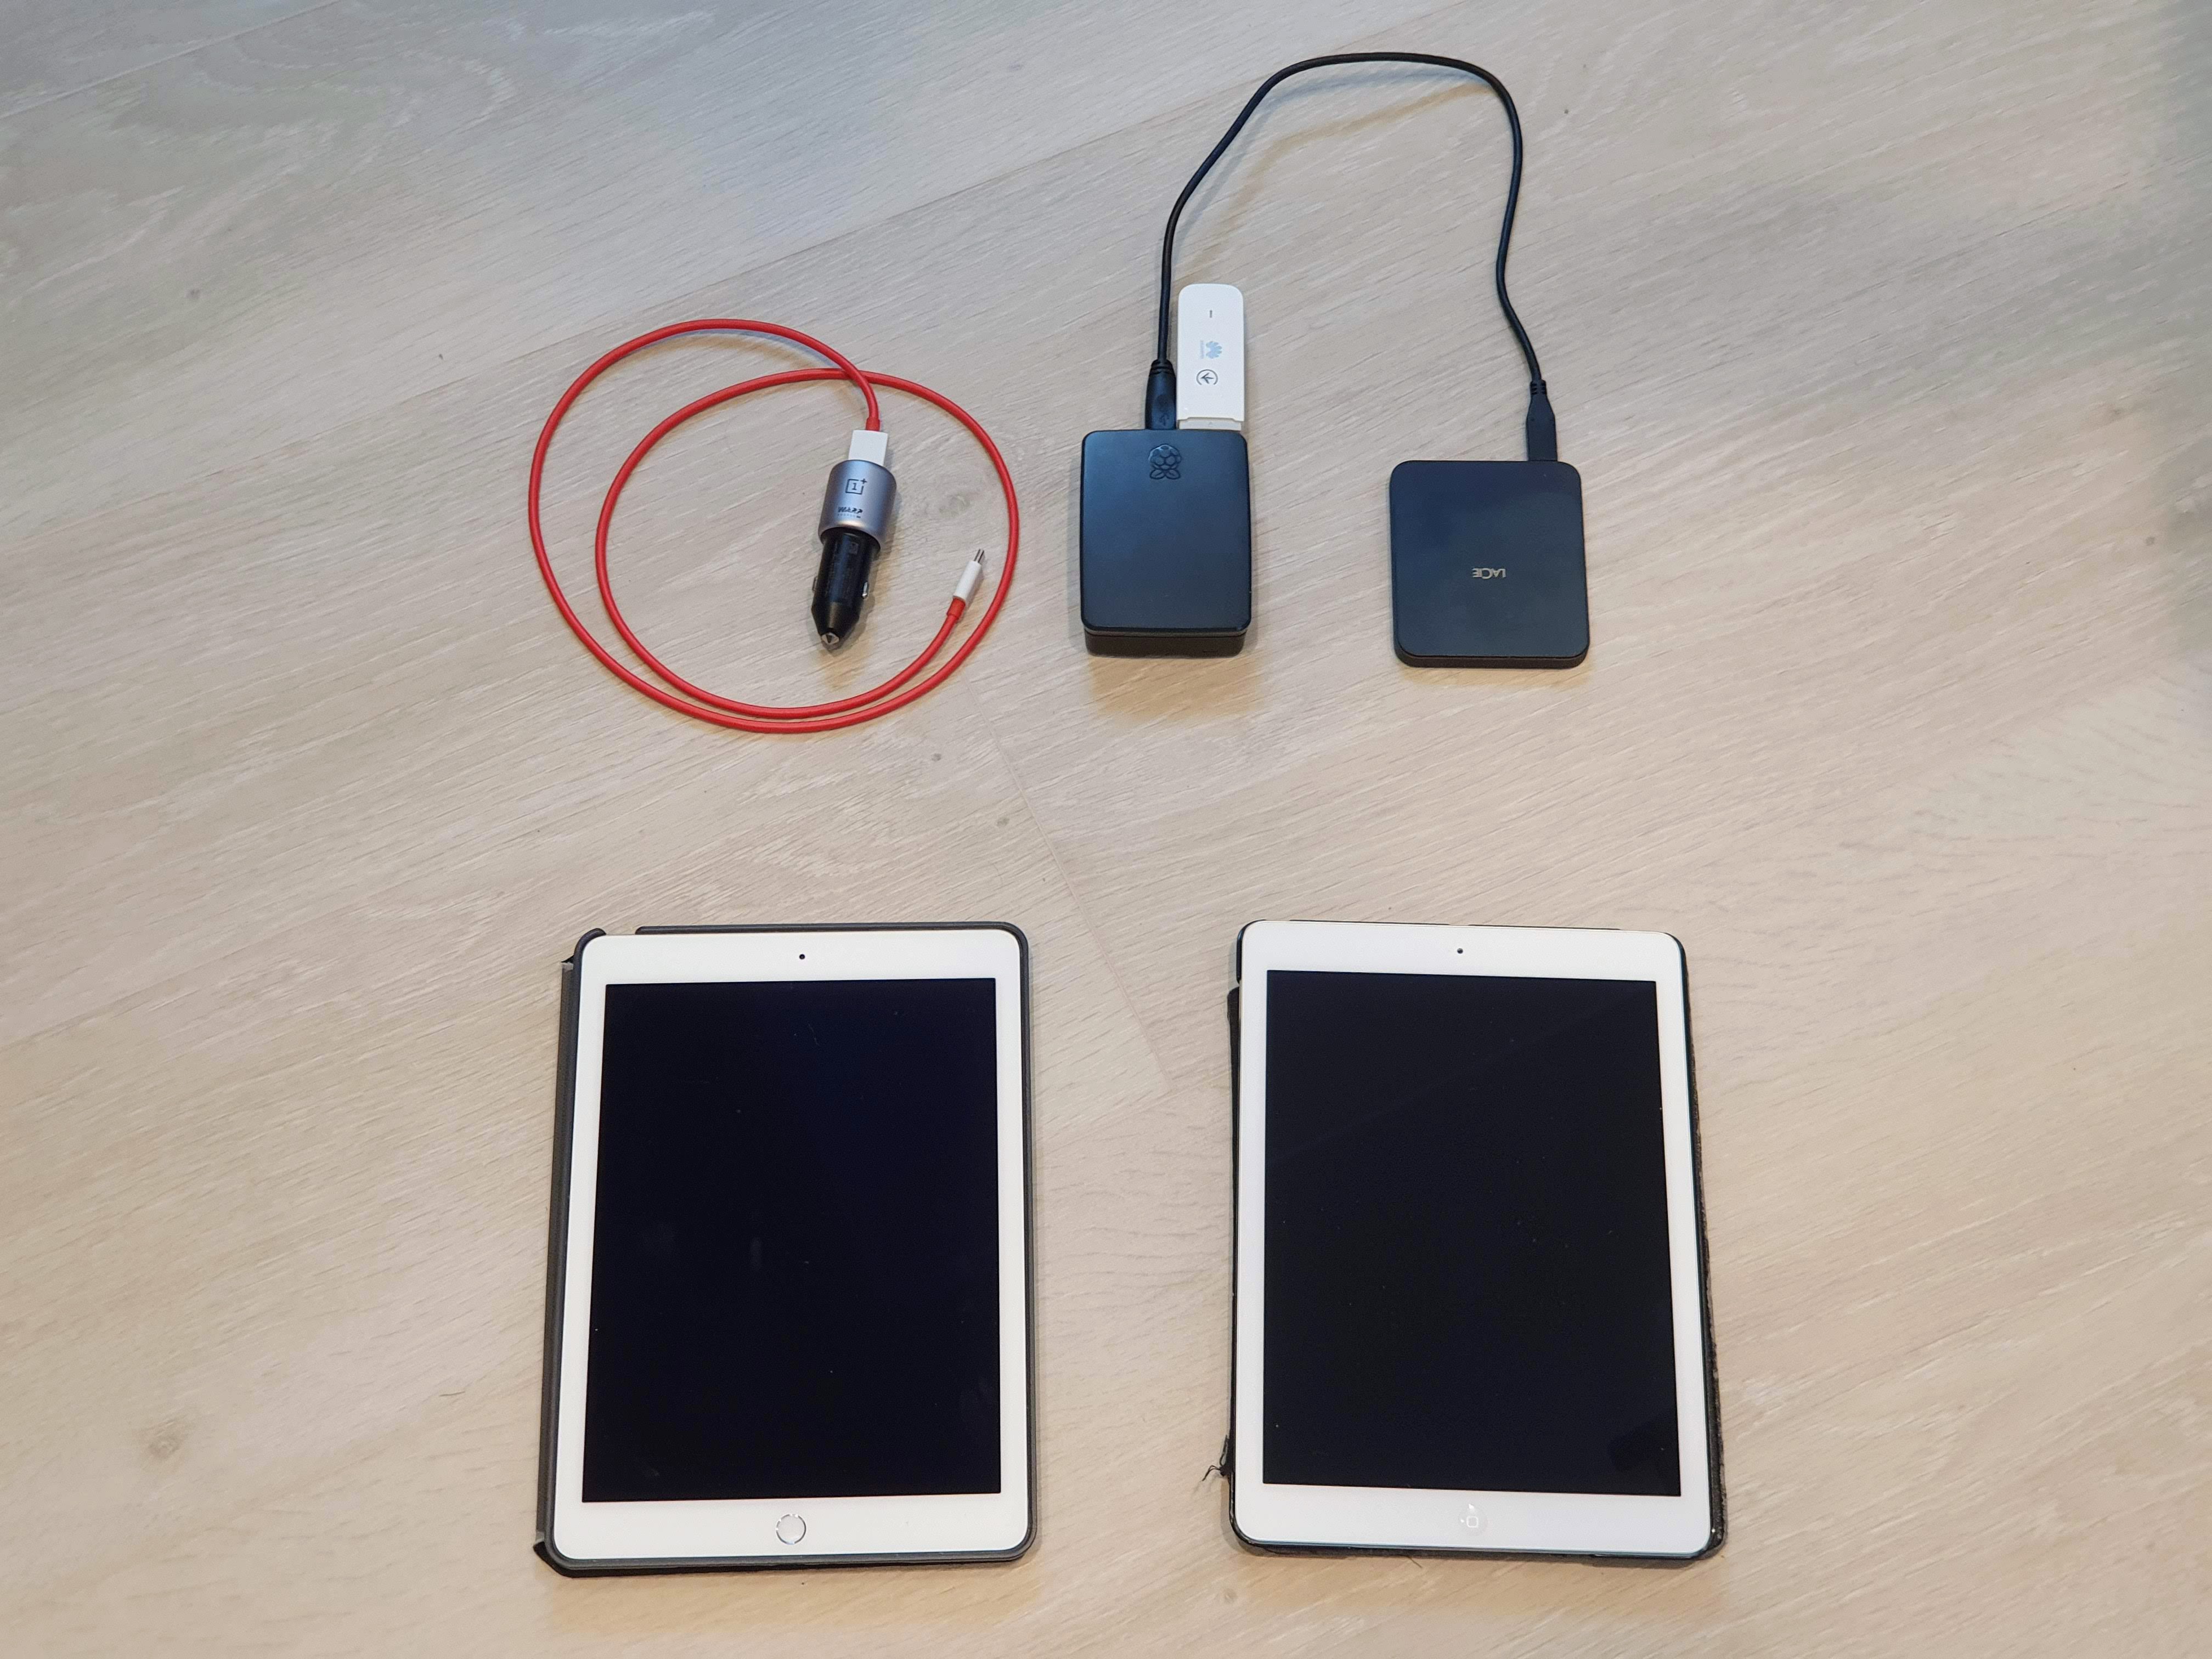
Final setup:
- Raspberry Pi 4 Model B, 4GB RAM
- Raspberry Pi 4 Official enclosure
- SanDisk MicroSDHC Ultra 32GB 98MB/s
- LaCie Portable SSD 500GB
- OnePlus Warp Charge 30, billader
- Huawei E3372H 4G - White
- (2 iPads)
Configuration
I have not bought a micro HDMI cable as it is perfectly possible to set this all up without directly connecting a monitor and keyboard. Start with following the instructions provided on the raspberry website on how to prepare the microSD card.
But make sure you have an empty file named ssh on the boot partition on the microSD as described here. This ensures that the ssh-server is started when it boots such that it is possible to remotely access and configure it.
Put the Raspberry Pi into its enclosure and connect it to your LAN via the ethernet port. Insert the microSD card and connect the USB-C power table. Once it powers up, then lookup its IP address in the logs of you DHCP-server (or which you home router).
You can now access the Raspberry Pi via ssh using the default username and password which can be found here.
External storage
Connect the external storage and configure it such that it automatically mounted during bootup as described here. I formatted the drive using NTFS as, which is supported by both Linux and Windows. Then the drive can easily by plugged into a Windows PC to upload content.
4G Internet access
I tried the Huawai dongle first on a windows PC to make sure it was working.
The way this dongle works is that it behaves as fully functional ethernet router with IP NAT and a dhcp-server. Therefore, it was just plug and play when it was connected to the Raspberry Pi. It automatically configured a eth1 device which got assigned a private IP address and a default route to the dongle. There was no other configuration needed.
Wi-fi access point
Because I am using this 4G Huawai dongle (which is already a fully functional IP router), there is not need to run a
DHCP-server on the Raspberry Pi. All what was needed was to bridge the wifi access point interface (wlan0) to the
Huawai dongle (eth1) and then all wi-fi clients automatically see the network from the Huawai dongle and get an IP
address from it.
So just follow the instruction provided by this guide
and bridge the wlan0 interface to eth1 and ensure that you do not configure eth0 as denyinterfaces in the /etc/dhcpcd.conf
because you do not want to lock your ssh connection out.
Samba fileserver
At last, install and configure the samba fileserver as described here and make sure it provides access to the external drive.
Accessing movies from iPad
If your iPad has IpadOS 13 or later, you can access any samba file share using the Files app and watch movies that way.
But one of the iPads I am using is too old and does not have IpadOS 13.
Fortunately there is the VLC app which has samba support and therefore can access all movies on the Raspberry Pi. That is a nice solutions which works fine on old Ipads, and in addition, VLC will probably play more formats anyway.
